Making a custom hoodie with a Cricut is a straightforward process that hinges on one core principle: heat transfer vinyl (HTV) is cut with the shiny carrier sheet facing down and pressed onto the garment with that same shiny side facing up. Once that orientation is internalized, the workflow follows a clear sequence.
🛠️ Gather Your Materials
Before touching the machine, assemble everything. A cutting machine (Maker, Explore, or Joy), a StandardGrip mat, a Fine-Point blade, and a weeding tool are the essentials. You will also need your chosen HTV—Everyday Iron-On is the most forgiving for beginners—and a heat source. A dedicated heat press like the Cricut EasyPress delivers more consistent results than a household iron, but an iron can work with careful attention to pressure and temperature. A Teflon sheet or pressing cloth protects both the vinyl and the garment during application.
💻 Design and Prepare in Cricut Design Space
The design phase happens entirely within Cricut Design Space. You can use built-in images, upload your own artwork, or combine text and graphics. The critical, non-negotiable step here is toggling Mirror to ON before cutting. Because HTV is applied face-down, an unmirrored design will emerge backwards on the finished hoodie.
When selecting your material setting, choose “Glitter Iron-On” specifically if using glitter HTV, as the standard “Iron-On” preset will not cut through the thicker material cleanly. For standard Everyday Iron-On, the “Iron-On” preset is appropriate.
✂️ Cut, Weed, and Press
Load the vinyl onto the mat with the shiny carrier sheet facing down and the dull, colored side facing up toward the blade. Run a small test cut on a corner of the vinyl before committing to the full design—this takes thirty seconds and prevents ruining an entire sheet if settings are off.
After cutting, use the weeding tool to remove the negative space around your design, leaving only the intended graphic on the carrier sheet.
Preheat the hoodie for a few seconds to remove moisture and wrinkles. Place the weeded design onto the garment with the shiny carrier sheet facing up. Press with firm pressure for the time and temperature specified for your HTV type. Most standard HTV adheres best at 305–315°F for 15–30 seconds, while glitter HTV often requires slightly higher heat.
Peel the carrier sheet while the design is still warm—not hot, not fully cooled. This “warm peel” window yields the cleanest edges.
🧺 A Few Practical Notes
If your design has multiple layers, apply them from bottom to top, covering any exposed vinyl from previous layers with a protective sheet before each new press. Limiting your design to four or fewer layers prevents excessive stiffness. Glitter, holographic, and foil HTV should be reserved for the top layer only, as subsequent layers will not adhere properly on top of their textured surfaces.
After pressing, wait 24 hours before washing. Machine wash cold and tumble dry low to preserve the bond.
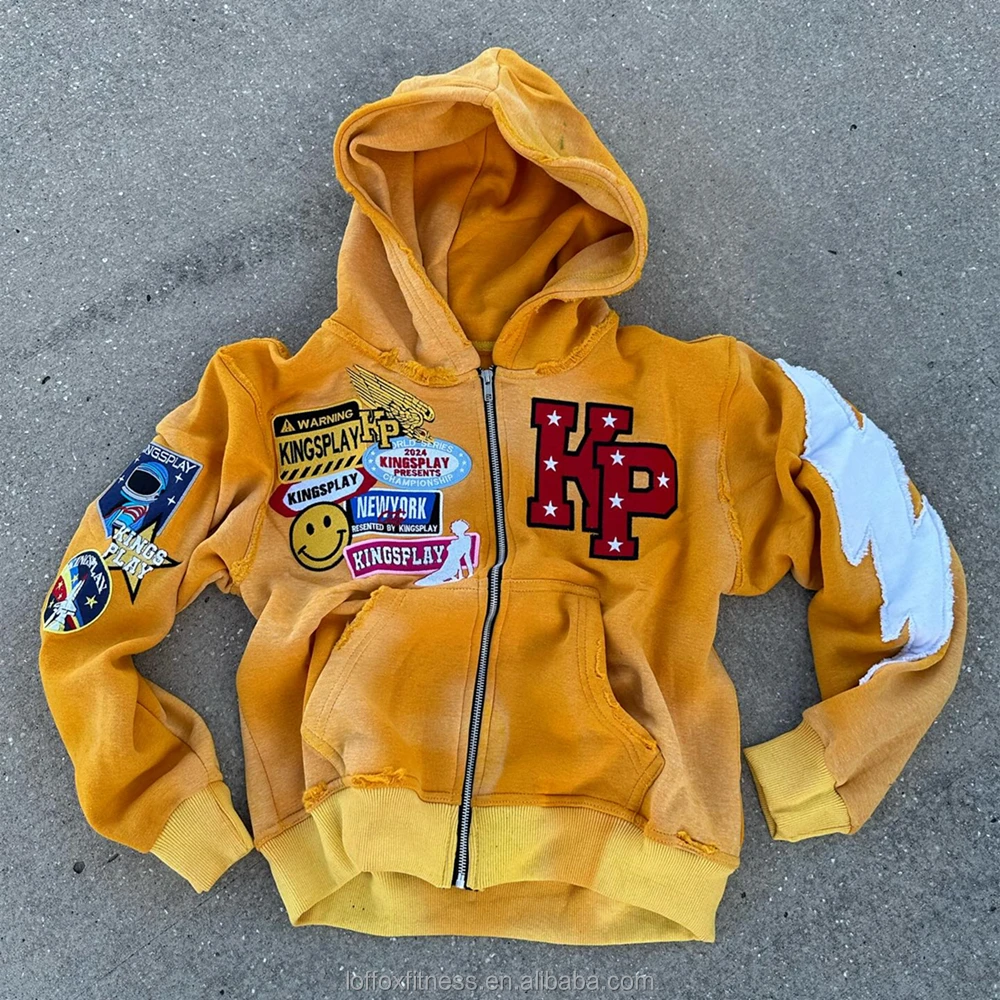
The result is a durable, wearable piece that carries your design in a way that feels far more personal than a print-on-demand order.