Want to make your own custom hoodie at home? Learn DIY HTV decoration and garment sewing techniques, material selection, heat settings and care tips for durable homemade hoodies.
Introduction: The Home Studio as Manufacturing Space
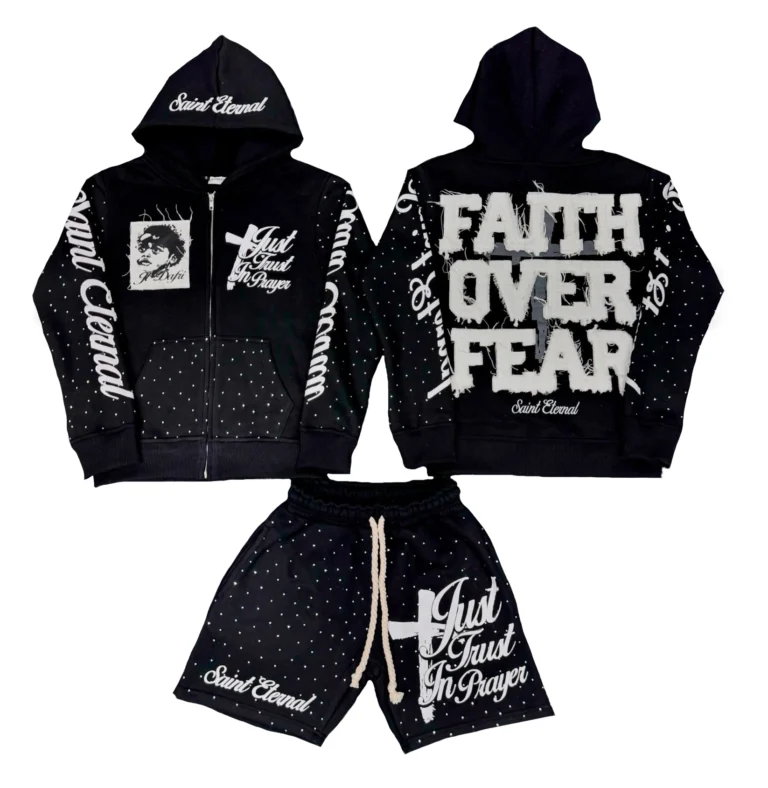
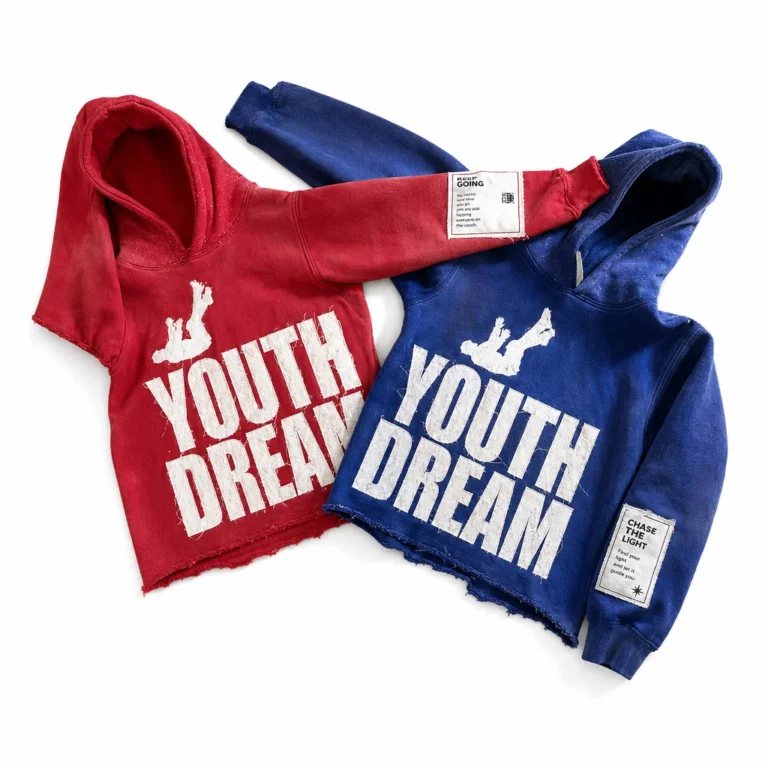
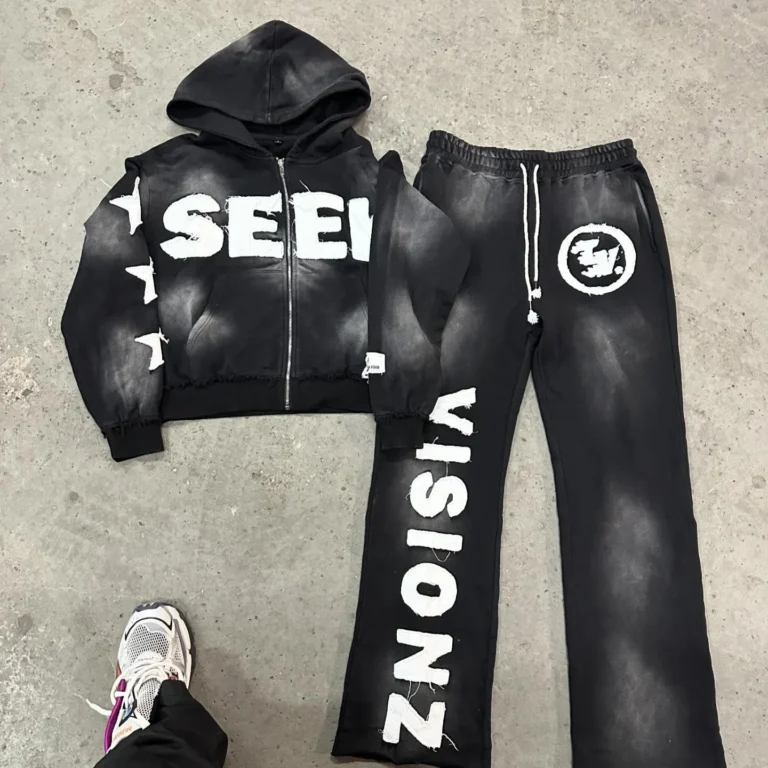
The notion that garment customization requires industrial infrastructure is a relic of a bygone era. The contemporary home studio, equipped with accessible cutting machines, heat presses, and a robust supply of blank garments and transfer materials, is fully capable of producing bespoke hoodies of remarkable quality. The domestic artisan now possesses the tools once reserved for commercial decoration shops. This guide delineates the methodologies, materials, and workflows required to create a custom hoodie at home, covering both the decoration of pre-existing blanks and the more ambitious endeavor of constructing a hoodie from raw fabric.
The Two Pathways: Decoration versus Construction
The first decision in any home customization project is the selection of the pathway. Decoration involves applying a design to a ready-made blank hoodie, a process that requires modest equipment and yields professional results with minimal technical skill. Construction involves sewing a hoodie from pattern to finished garment, a more demanding endeavor that demands a sewing machine, precision cutting, and a working knowledge of garment assembly. The former is accessible to the novice; the latter rewards the experienced maker.
Pathway One: Selecting the Blank Hoodie
The foundation of any decorated hoodie is the blank garment itself. The choice of blank dictates the comfort, durability, and ultimate success of the project. A heavyweight fleece of at least 8 ounces per square yard is preferable, as it resists the shrinkage and distortion that can plague lighter fabrics during the heat-press process. A cotton-rich blend, ideally 80% cotton and 20% polyester, offers the optimal surface for heat transfer vinyl adhesion and the softest hand-feel against the skin.
The Essential Toolkit for Home Decoration
The home decorator requires a modest arsenal. A cutting machine—the Cricut Maker, Explore, or Joy—is the central instrument, enabling the precise cutting of heat transfer vinyl designs. A StandardGrip mat, a Fine-Point blade, and a weeding tool complete the cutting station. A heat press or, as an alternative, a household iron, provides the pressure and temperature required to bond the vinyl to the fabric. A Teflon sheet or pressing cloth protects both the vinyl and the garment during application.
The Critical Orientation of Heat Transfer Vinyl
The most common error in home HTV application is an inversion of the material’s orientation. The heat transfer vinyl must be placed onto the cutting mat with the shiny carrier sheet facing down and the dull, colored vinyl surface facing up toward the blade. When pressing, the design is placed onto the garment with the shiny carrier sheet facing up. This orientation is non-negotiable. A failure to observe it will result in a design that is either mis-cut or irreversibly adhered to the pressing surface.
Design Preparation in Cricut Design Space
The design phase occurs within the cutting machine’s companion software. Whether employing a built-in image, uploading original artwork, or combining text and graphics, the design is assembled digitally before any material is cut. The non-negotiable step at this juncture is the activation of the Mirror function. Because the vinyl is applied face-down and then flipped, an unmirrored design will emerge reversed upon the finished garment. The mirror toggle must be engaged before the cut command is issued.
The Cut, Weed, and Press Workflow
The workflow proceeds through three discrete stages. The cutting stage involves loading the vinyl onto the mat and running the machine according to the appropriate material setting. A test cut on a small corner of the vinyl is a prudent preliminary measure, taking seconds but preventing the ruination of an entire sheet. The weeding stage involves the removal of the negative space surrounding the design, leaving only the intended graphic on the carrier sheet. The pressing stage involves the application of heat and pressure to bond the vinyl to the fabric.
Temperature, Pressure, and Time: The Variables of Adhesion
The success of the bond is governed by three variables: temperature, pressure, and time. For standard Everyday Iron-On, a temperature of approximately 305°F to 315°F, firm pressure, and a duration of 15 to 30 seconds is typical. Glitter and holographic vinyls often require slightly higher temperatures. A dedicated heat press delivers more consistent results than a household iron, as it applies uniform pressure across the entire design. An iron requires careful attention to ensure that all areas of the design receive adequate pressure.
The Warm Peel and the Cooling Protocol
The moment of peeling the carrier sheet is a critical juncture. For most HTV products, the carrier sheet should be peeled while the design is warm—not hot, not fully cooled. This “warm peel” window yields the cleanest edges. A “cold peel” is required for certain specialty vinyls, and the manufacturer’s instructions must be consulted. Following the peel, the garment should be allowed to cool completely before any further handling.
Multi-Layer Designs: Sequencing and Protection
Designs incorporating multiple layers of vinyl require a sequenced application. The layers are applied from the bottom up, with each successive layer pressed over the previous one. Any exposed vinyl from prior layers must be covered with a protective sheet before a subsequent press, lest the heat of the press distort or melt the already-applied design. A maximum of four layers is advisable; beyond this, the design becomes stiff and uncomfortable to wear.
Specialty Vinyls: Glitter, Holographic, and Foil
Specialty vinyls introduce additional considerations. Glitter, holographic, and foil HTV products should be reserved for the top layer of a multi-layer design, as subsequent layers will not adhere properly to their textured surfaces. These materials also require more careful temperature management, as excessive heat can cause the metallic or glitter finish to degrade. Their visual impact, however, is considerable, and they are well-suited to designs that seek a bold, reflective aesthetic.
Pathway Two: Constructing a Hoodie from Scratch
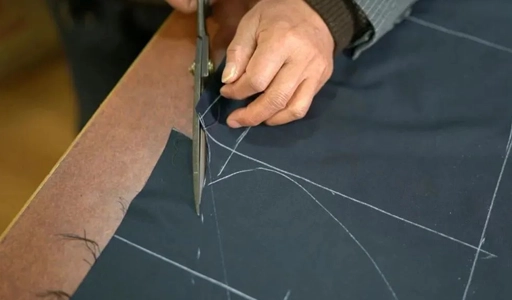
For the maker who demands absolute control, constructing a hoodie from raw fabric is the ultimate expression of the craft. This pathway requires a sewing machine, a pattern, and a supply of knit fabric—typically a cotton fleece or French terry. The process involves cutting the pattern pieces, sewing the shoulder seams, attaching the sleeves, stitching the side seams, constructing the hood, and attaching the cuffs, waistband, and pockets.
Pattern Selection and Fabric Considerations
The pattern is the architectural blueprint of the garment. A commercial pattern, graded for the intended size range, provides the necessary templates. The fabric must be a knit with sufficient stretch to accommodate the body’s movement. A ballpoint or stretch needle is essential for sewing knit fabrics, as a sharp needle will damage the fibers and cause skipped stitches. The seam allowance must be consistent throughout the assembly to ensure a symmetrical fit.
The Assembly Sequence: A Methodical Approach
The assembly of a hoodie follows a logical sequence. The shoulder seams are sewn first, joining the front and back panels. The sleeves are then attached to the armholes. The side seams are sewn from the cuff to the hem. The hood is constructed separately and then attached to the neckline. Finally, the cuffs and waistband are attached, and any pockets are sewn into place. Each seam should be pressed as it is completed, as pressing is the difference between a garment that looks homemade and one that looks professionally crafted.
Finishing Techniques: Hemming, Cuffs, and Topstitching
The finishing details determine the garment’s longevity and aesthetic refinement. The cuffs and waistband are typically made from a ribbed knit that provides stretch and recovery. Topstitching, a line of stitching visible on the exterior of the garment, reinforces seams and adds a professional touch. A twin-needle stitch is the standard for hemming knit garments, as it allows the fabric to stretch without breaking the thread.
The Heat Press as a Finishing Tool
Even for constructed garments, the heat press serves a purpose. It can be used to apply finishing touches such as embroidered patches or heat transfer labels. It can also be used to press the completed garment, removing wrinkles and setting the seams for a crisp, polished appearance.
Aftercare and Longevity
The longevity of a custom hoodie is contingent upon proper care. HTV-adorned garments should be washed inside out in cold water and tumble dried on low heat. High heat will cause the vinyl to crack, peel, or fade. Constructed garments should be washed according to the care instructions for their fabric. Hand-washing or a gentle cycle preserves the integrity of the seams and the vibrancy of the fabric.
Troubleshooting Common Issues
Several issues may arise during home customization. If the vinyl peels after washing, the bond was insufficient—the temperature, pressure, or time was inadequate. If the vinyl cracks, the garment was exposed to excessive heat during drying. If the design is misaligned, the placement was not measured accurately before pressing. Each of these issues is preventable with careful attention to the variables.
The Economics of Home Production
The economics of home customization are favorable for small quantities. A blank hoodie may cost between $15 and $30, and a sheet of HTV sufficient for a small design costs a few dollars. The equipment—cutting machine and heat press—represents a capital investment, but one that amortizes quickly if the maker produces multiple garments. For the individual crafting a personal piece or a small batch for a team or event, the home studio is a viable and cost-effective production facility.
Conclusion: The Democratization of Apparel Craft
The ability to create a custom hoodie at home represents a meaningful democratization of apparel craft. The barriers that once separated the consumer from the means of production have eroded. With a modest investment in equipment and a willingness to learn the nuances of heat transfer vinyl and garment assembly, the home maker can produce garments that rival those of commercial decoration shops. The result is not merely a hoodie, but a tangible expression of personal creativity, crafted in the domestic atelier.